Build Your Plan in 5 Steps
The recommended order for creating a lesson in CARL, from first setup to ready-to-share. Follow this sequence when you want Components, Teaching Resources, Blocks, and AI supports to work from the strongest possible plan.
CARL works best when you build in a clear order: set the context, generate the core plan, edit it, add the extra materials, then publish or share when everything feels ready.
Start by giving CARL the right context. The more specific the setup, the stronger the generated plan will be.
Three ways to set your curriculum, in Settings → Curriculum. Click any one to play it.
Save reusable class profiles to pre-fill your class context each time you plan. Click to play the walkthrough.
- Your curriculum default is set in Settings → Curriculum. Open Settings from your profile image in the top-right corner.
- Your Saved Class Profile is selected, if you have one.
- Your grade, subject, topic, lesson length, and class context are accurate.
- Your learning goal and success criteria are clear enough to guide the lesson.
Once your context is set, let CARL generate the core lesson or unit plan first. This gives you the main structure: goals, activities, timing, supports, and assessment ideas.
Do not worry if it is not perfect on the first pass. Treat the generated plan as a strong draft that you can shape for your students.
Describe what you are teaching on the first screen, then generate. Click to play the walkthrough.
Already have a plan? Attach it on the same screen and CARL builds from your document, following it closely or using it as inspiration. Click to play the walkthrough.
| Less helpful | More helpful |
|---|---|
| Fractions | Grade 4 equivalent fractions using visual models, with a 45-minute lesson and students who need hands-on practice. |
| Poetry | Grade 7 introduction to metaphor and imagery, using short poems and discussion-based activities. |
| Ecosystems | Grade 6 food webs and local ecosystems, with vocabulary support and a small-group sorting activity. |
Before adding anything else, read through the core plan and make it feel right for your class.
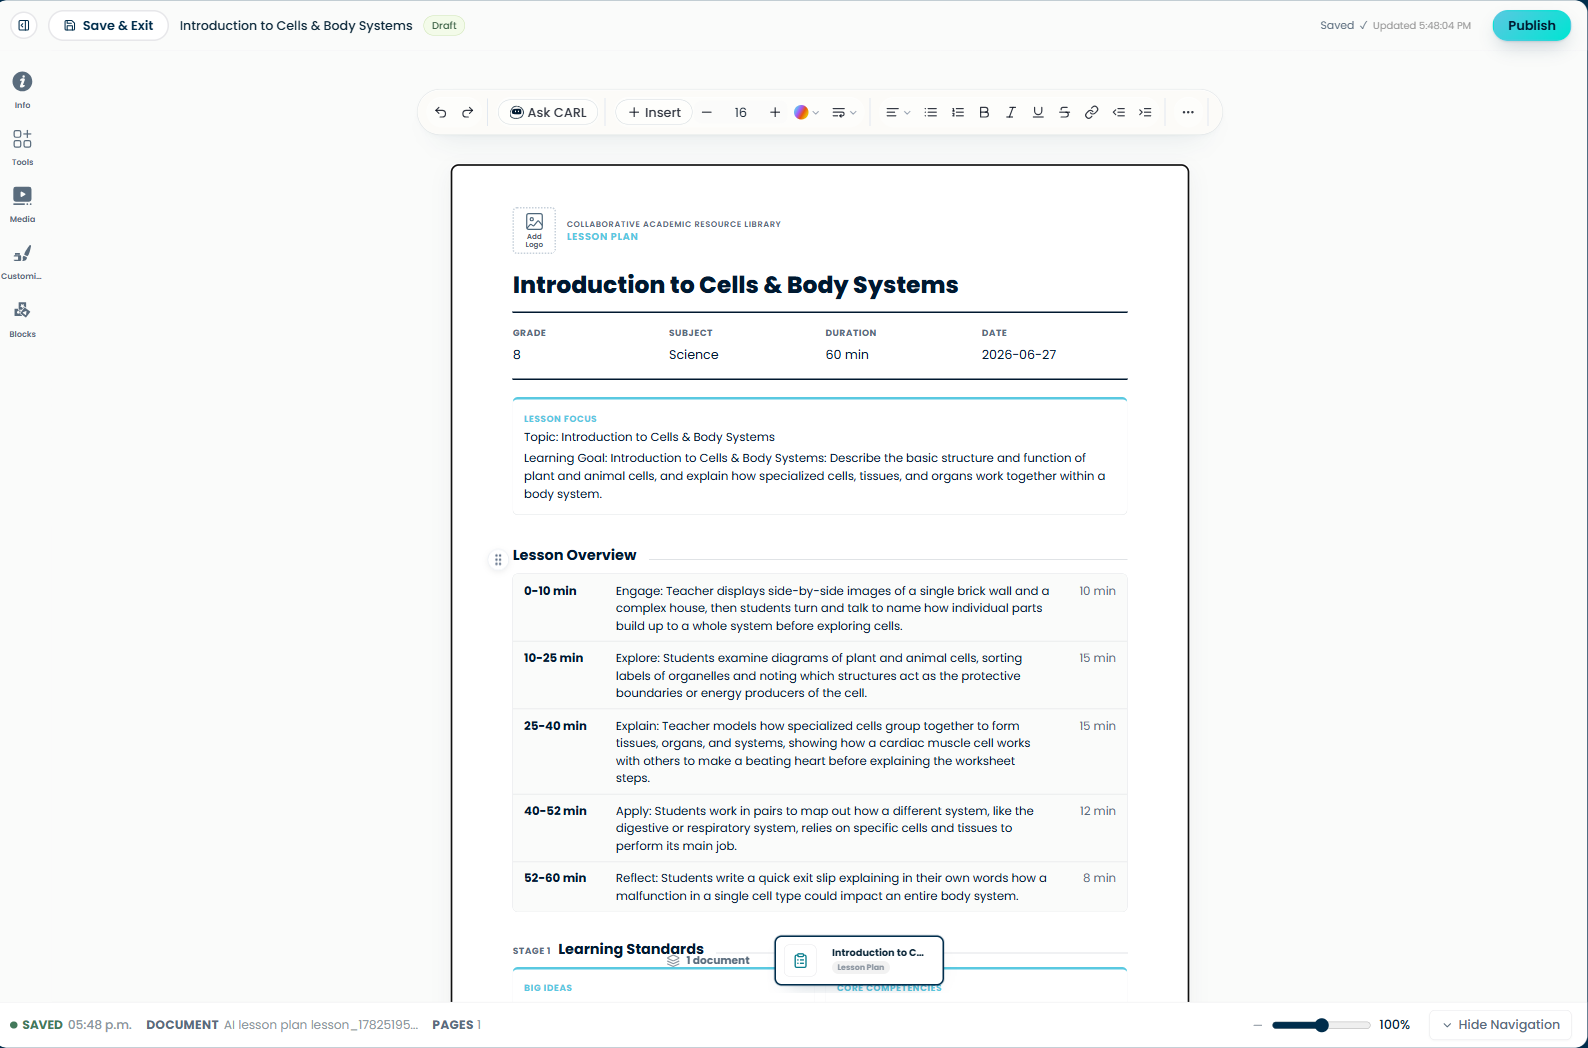
Read through the generated plan in the editor and shape it for your class.
- Timing that fits your actual class period.
- Learning goals and success criteria that are clear.
- Activities that match your students’ needs and energy level.
- Instructions that sound like something you would actually say.
- Any places where the generated content needs more detail, less detail, or a different example.
Once the core plan feels solid, layer in the add-ons, the extras that turn a plan into a full set of materials. There are four kinds, and each one builds from the lesson you already made:
Use Tools after your core plan is mostly finished. Click any walkthrough to play it.
| Add-on | What it is |
|---|---|
| Components | Student-facing worksheets, activities, and assessments, each one arrives with its own facilitator guide. |
| Teaching Resources | Teacher-facing supports, lesson & unit enhancements (UDL, SEL, equity, and more) plus ELL supports. |
| Blocks | Smaller pieces you drop into a section, text, tables, charts, organizers, or image areas. |
| Media | Images and visuals, upload your own, search open-licensed images, or generate AI images for your materials. |
Before publishing, do one final pass. Check that your core plan is edited, your components/resources make sense, and the lesson is saved.
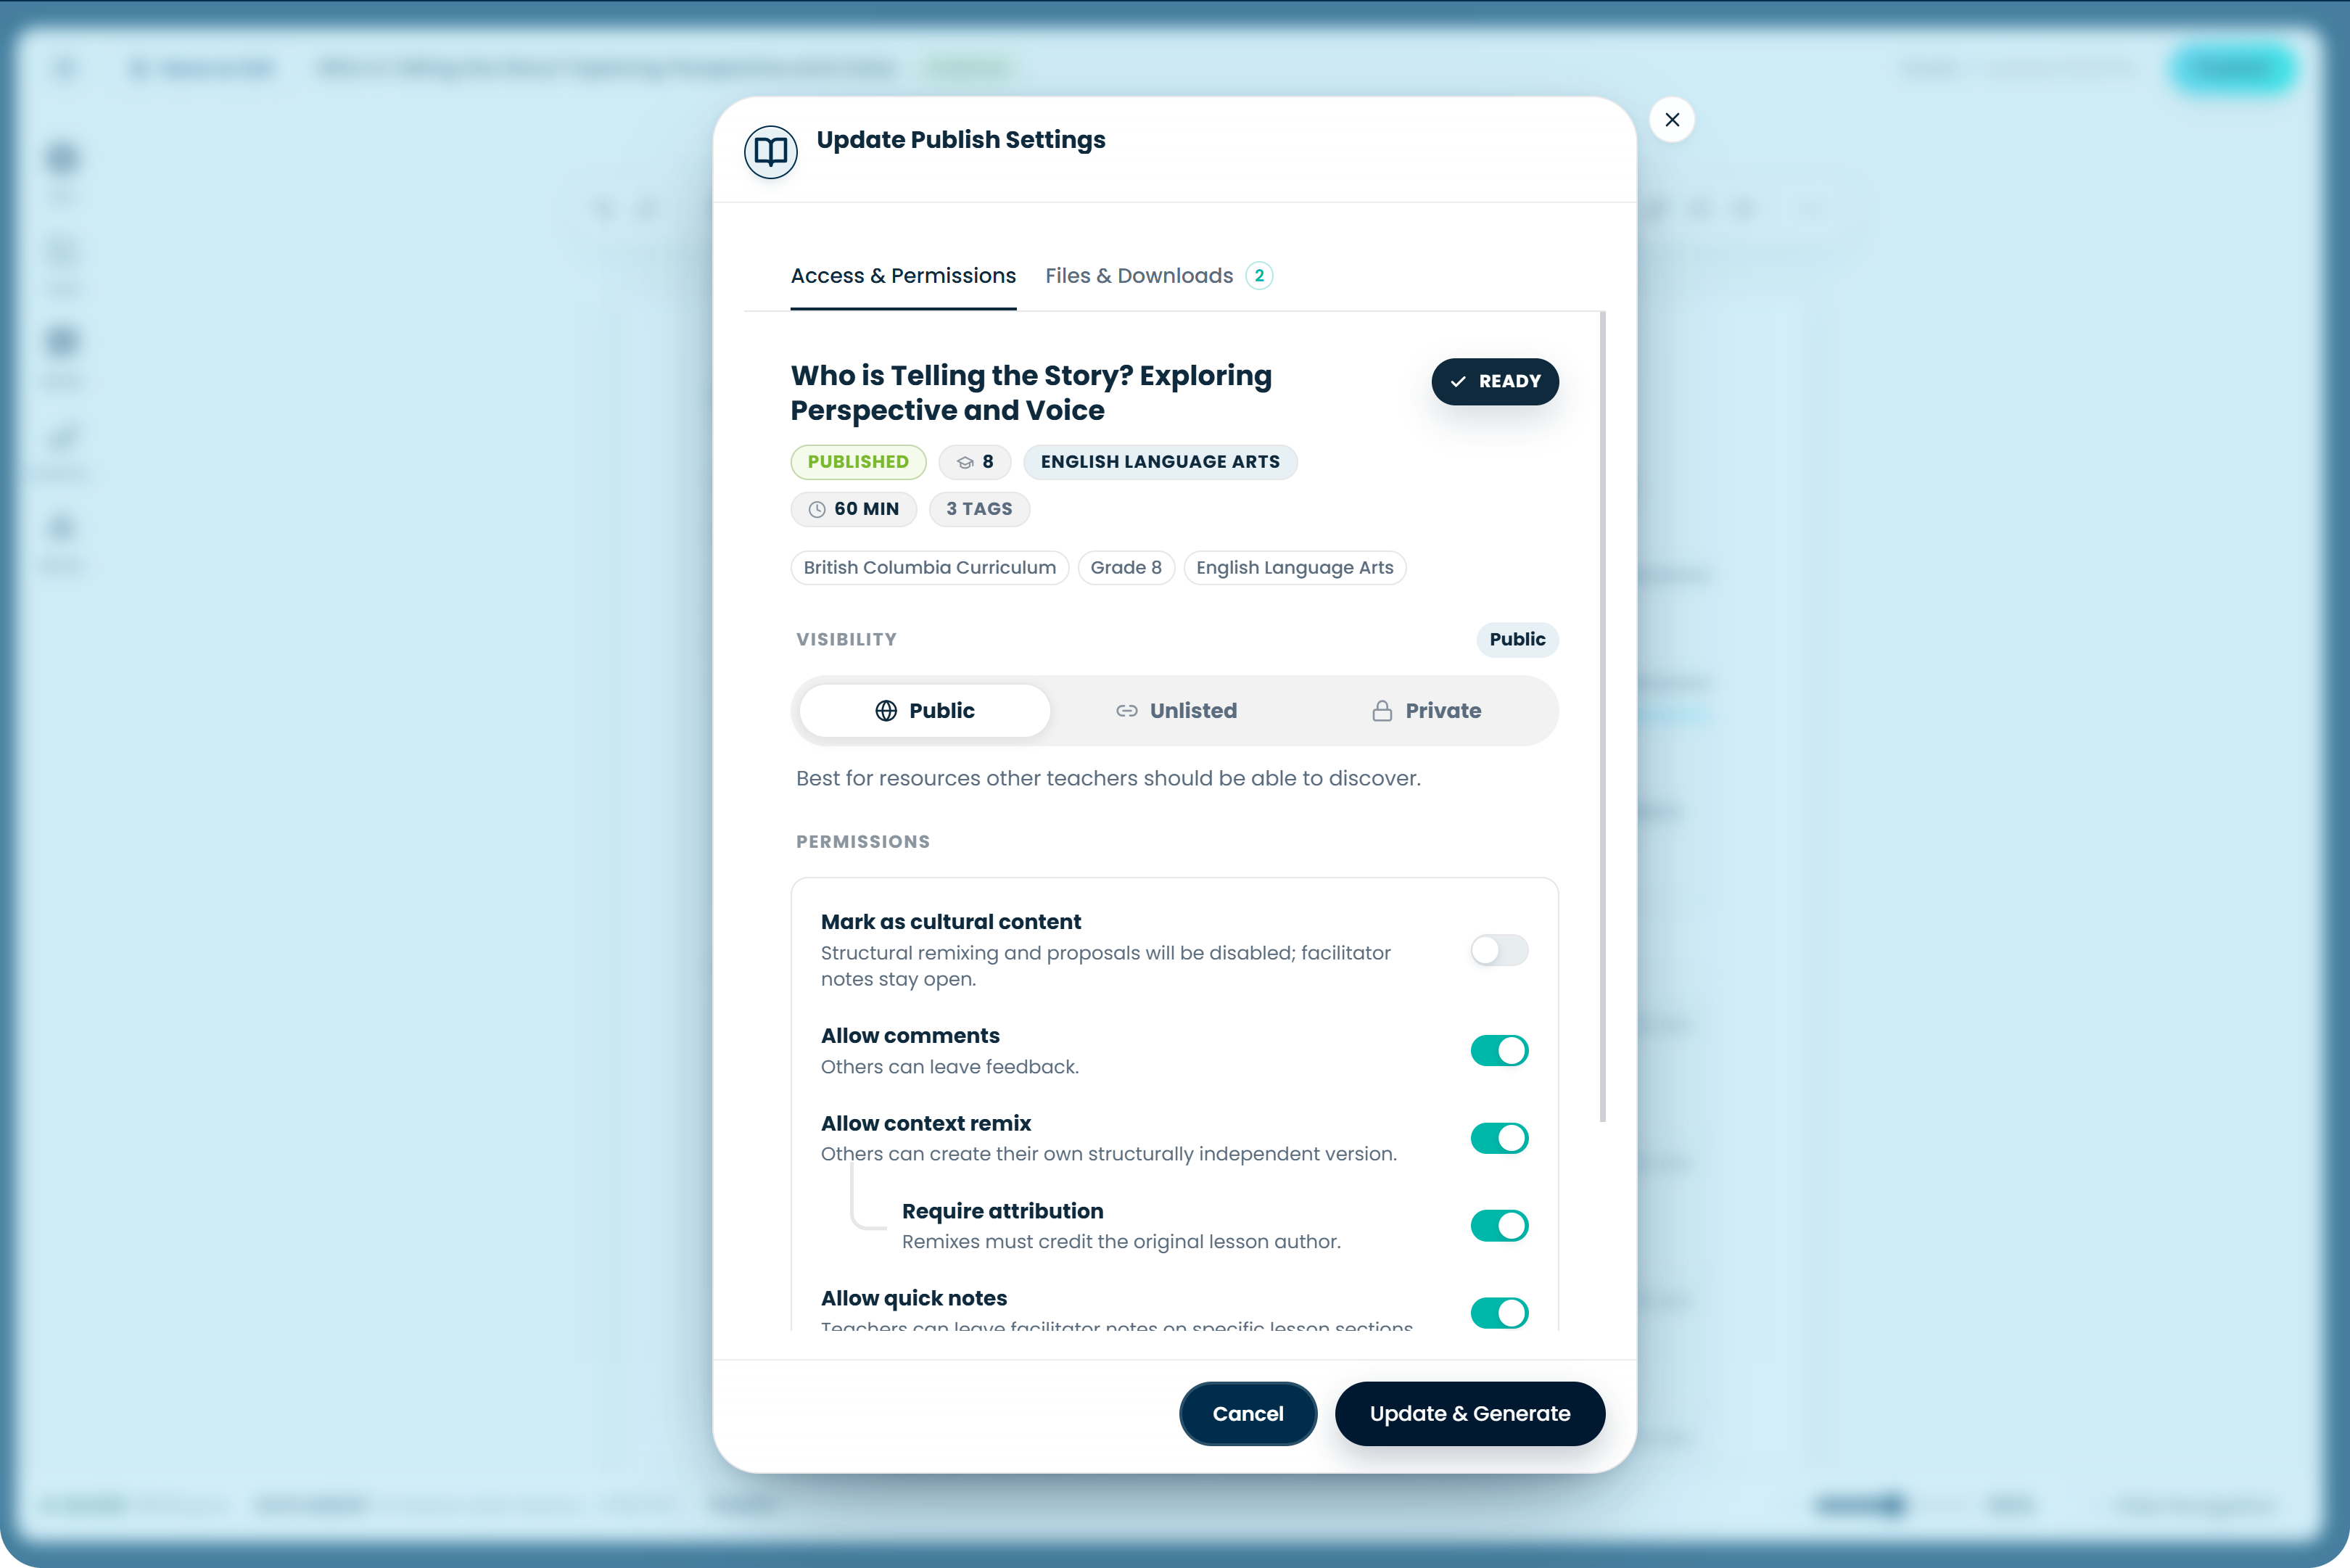
Publish when your lesson is saved and ready to share or download.
- Check the bottom-left save status for the green dot, SAVED label, and timestamp.
- Preview or review any components you added.
- Make sure AI-generated materials match your updated lesson.
- Confirm visibility, sharing, and download settings when publishing.
When you publish, CARL saves your lesson and prepares downloadable files. Most of the time, files are ready by the time publishing finishes. If you see a loading spinner where the download button should be, wait a minute or two and check again.