
Getting Started
Full Guide
CARL in 5(ish) Minutes: The Essential Tour
New to CARL? Start here. This quick tour maps out everything CARL does — from your first lesson to a whole library you can share and remix — with a link to the full how-to at every stop.
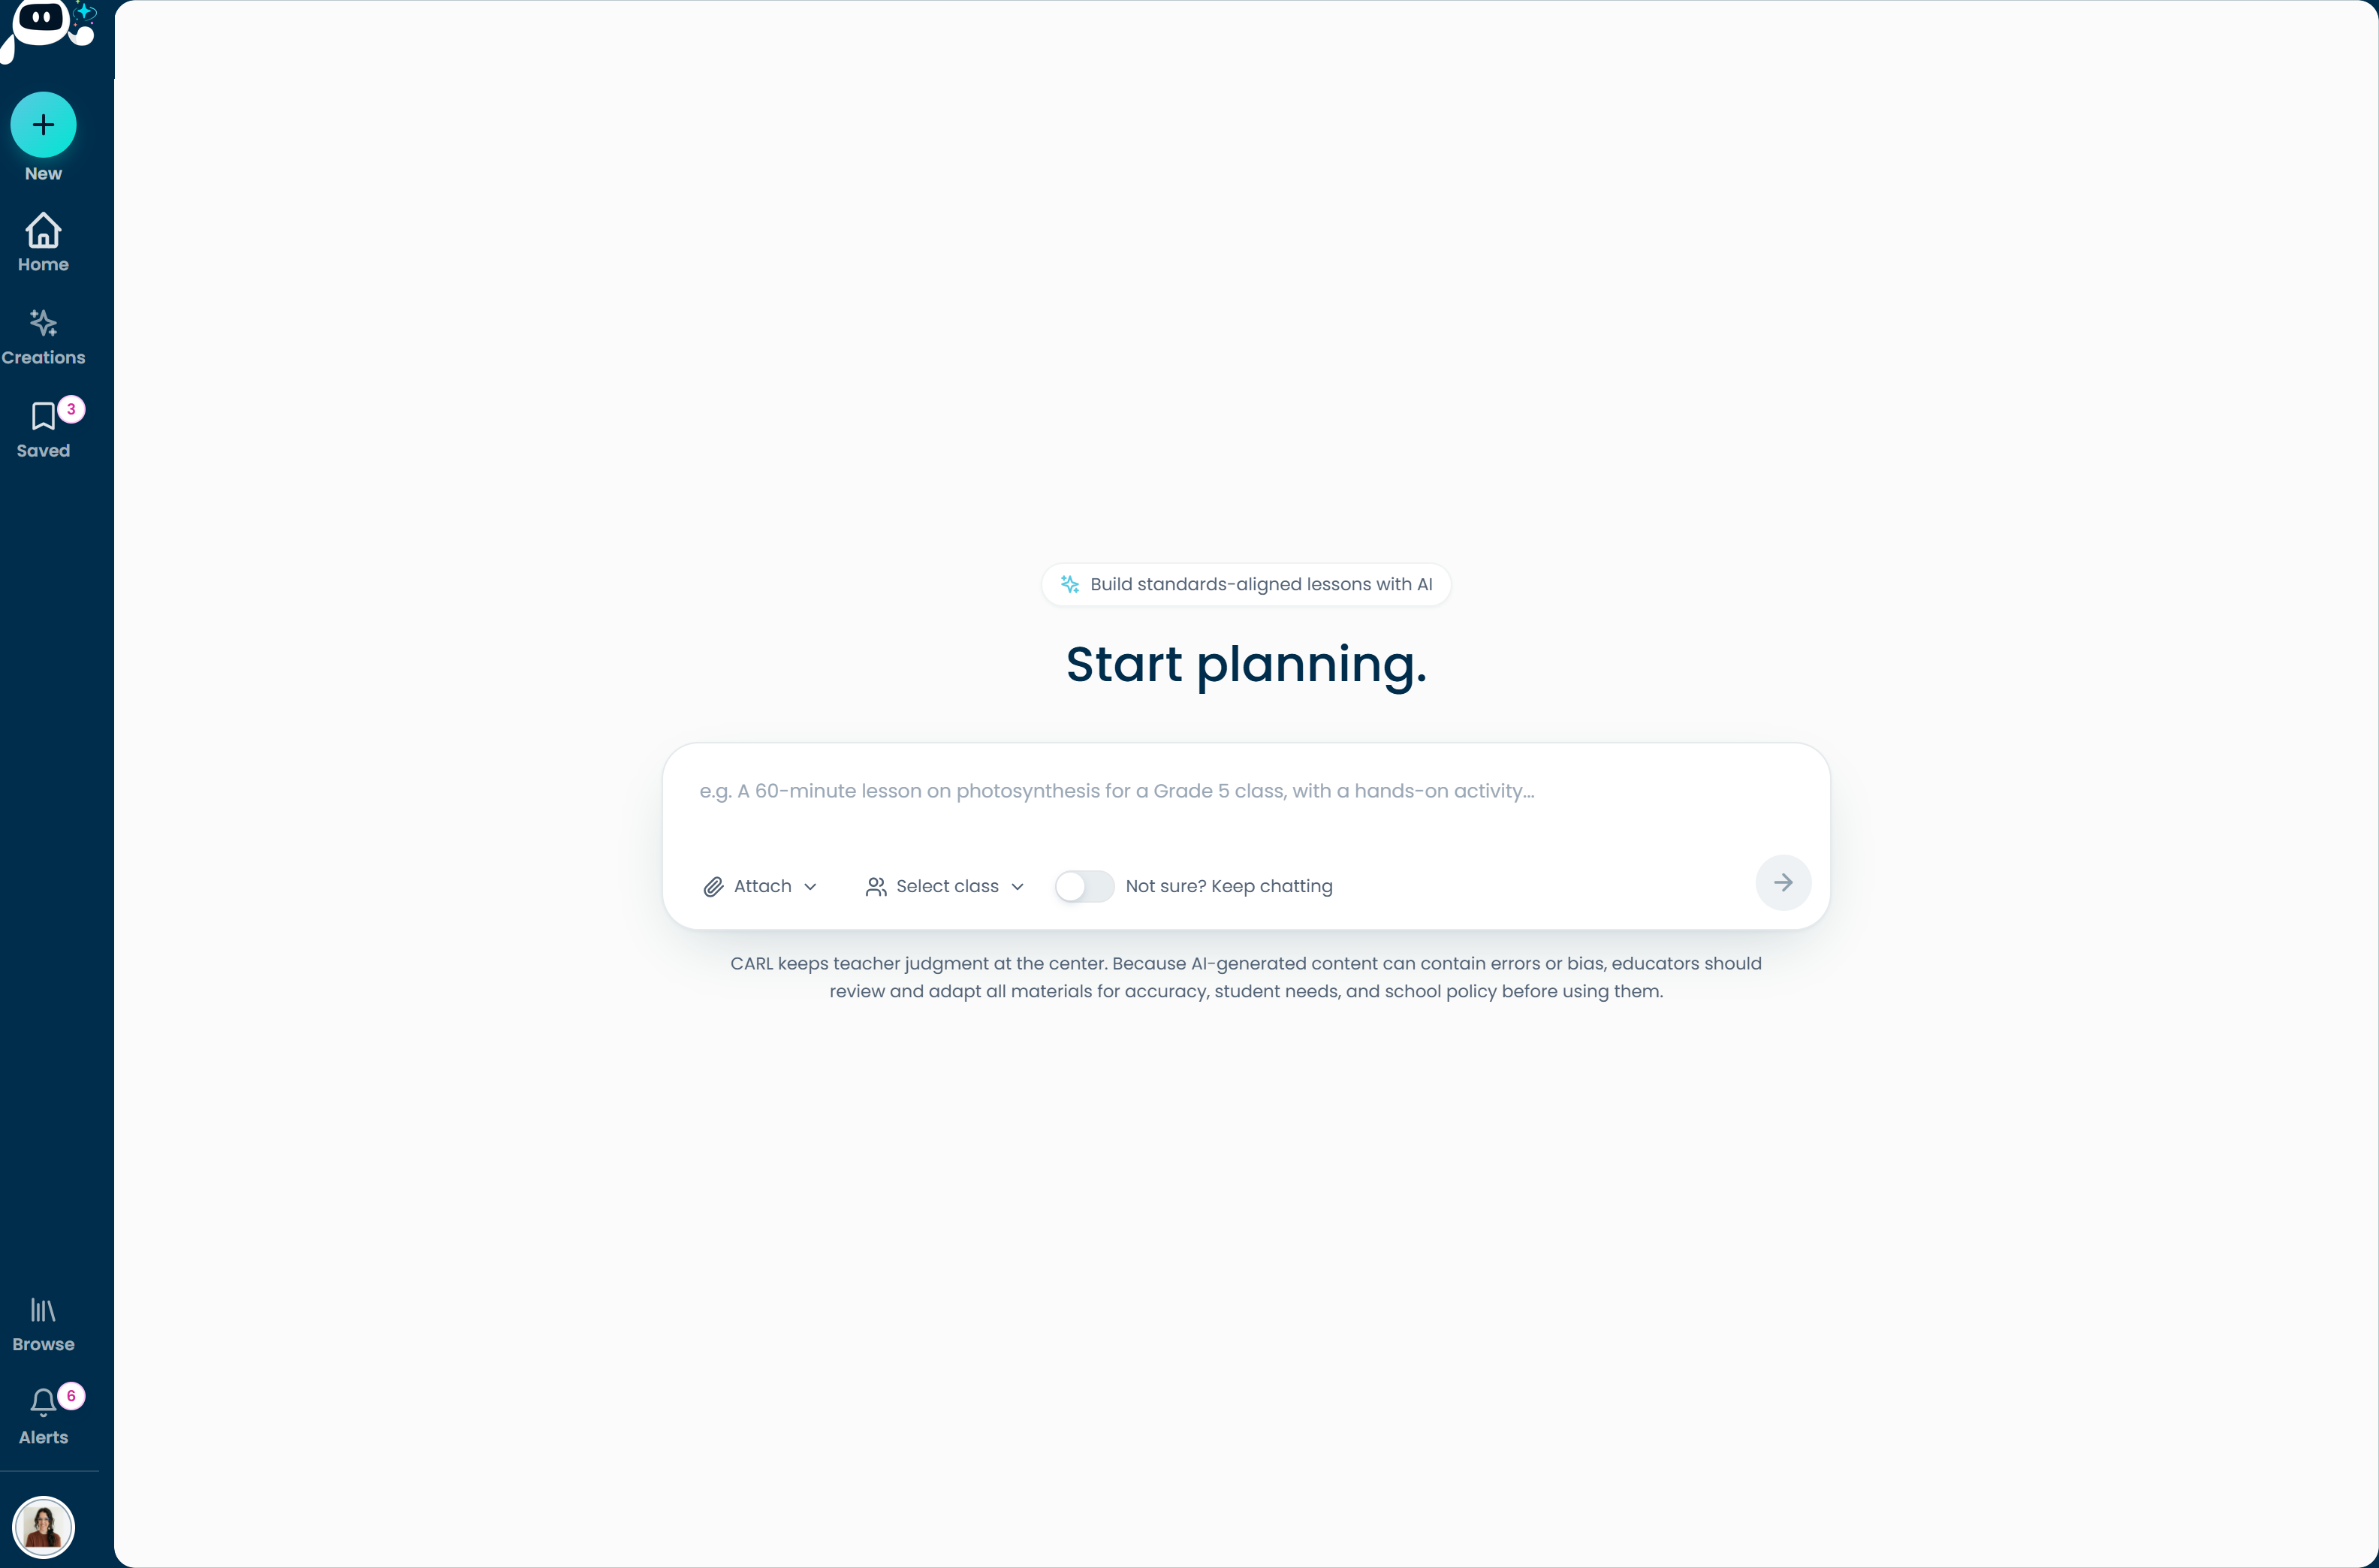
Plan a lesson
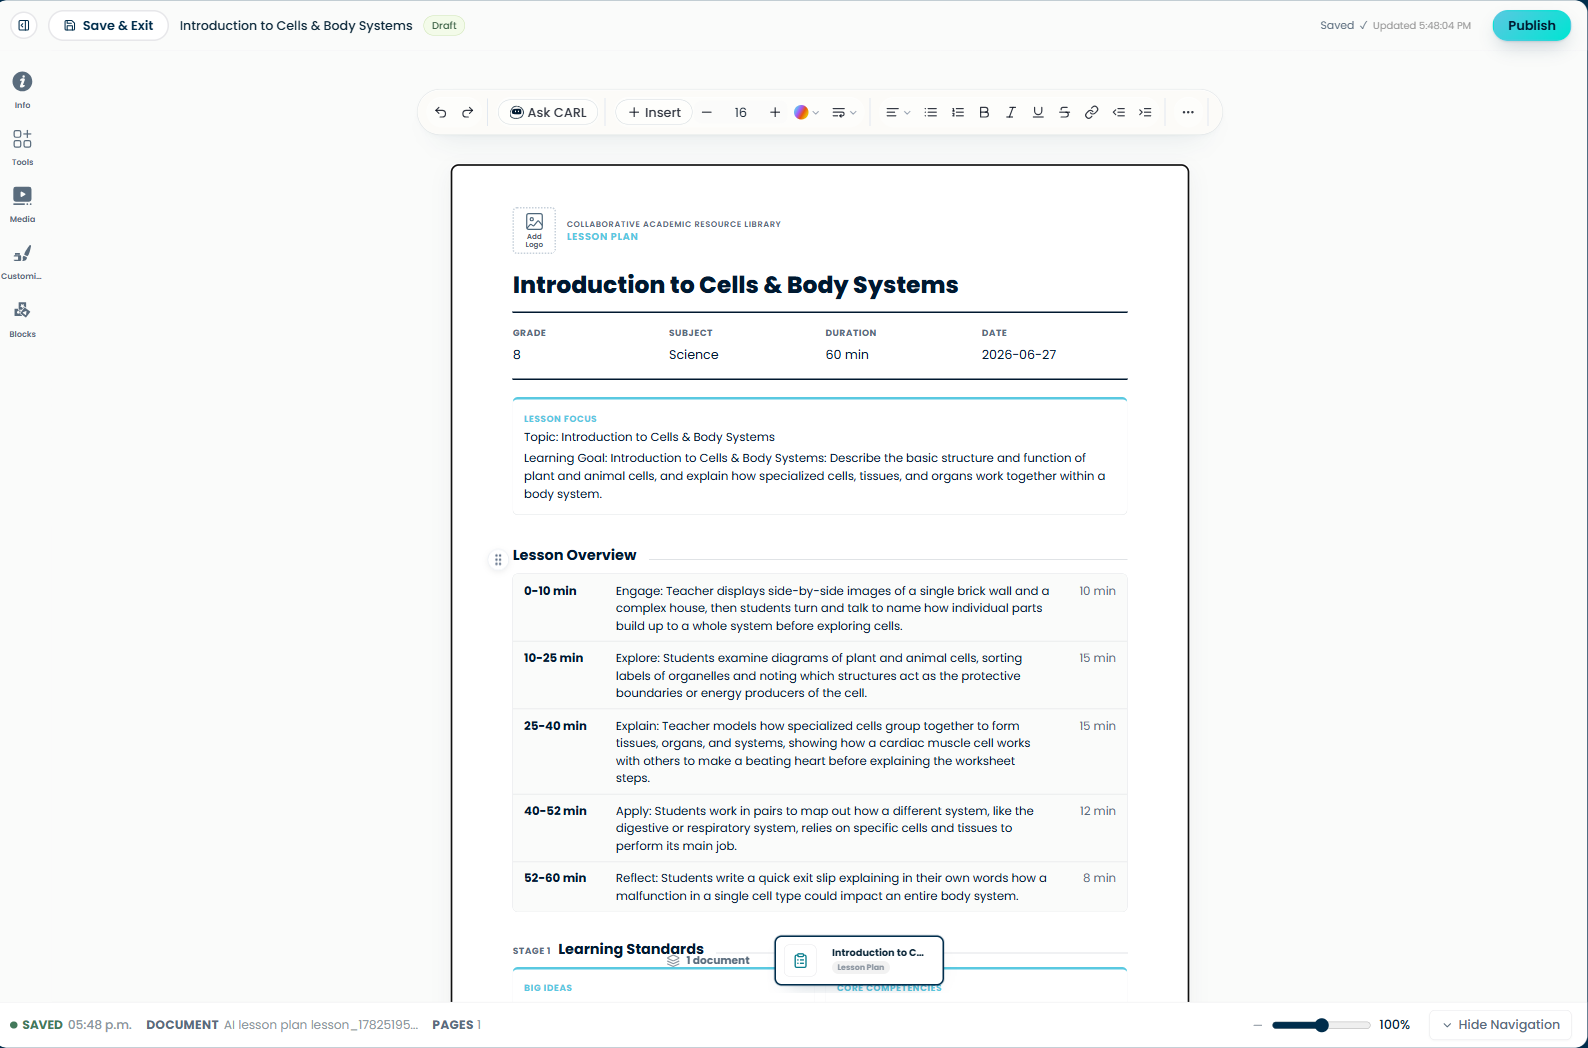
Refine in the editor
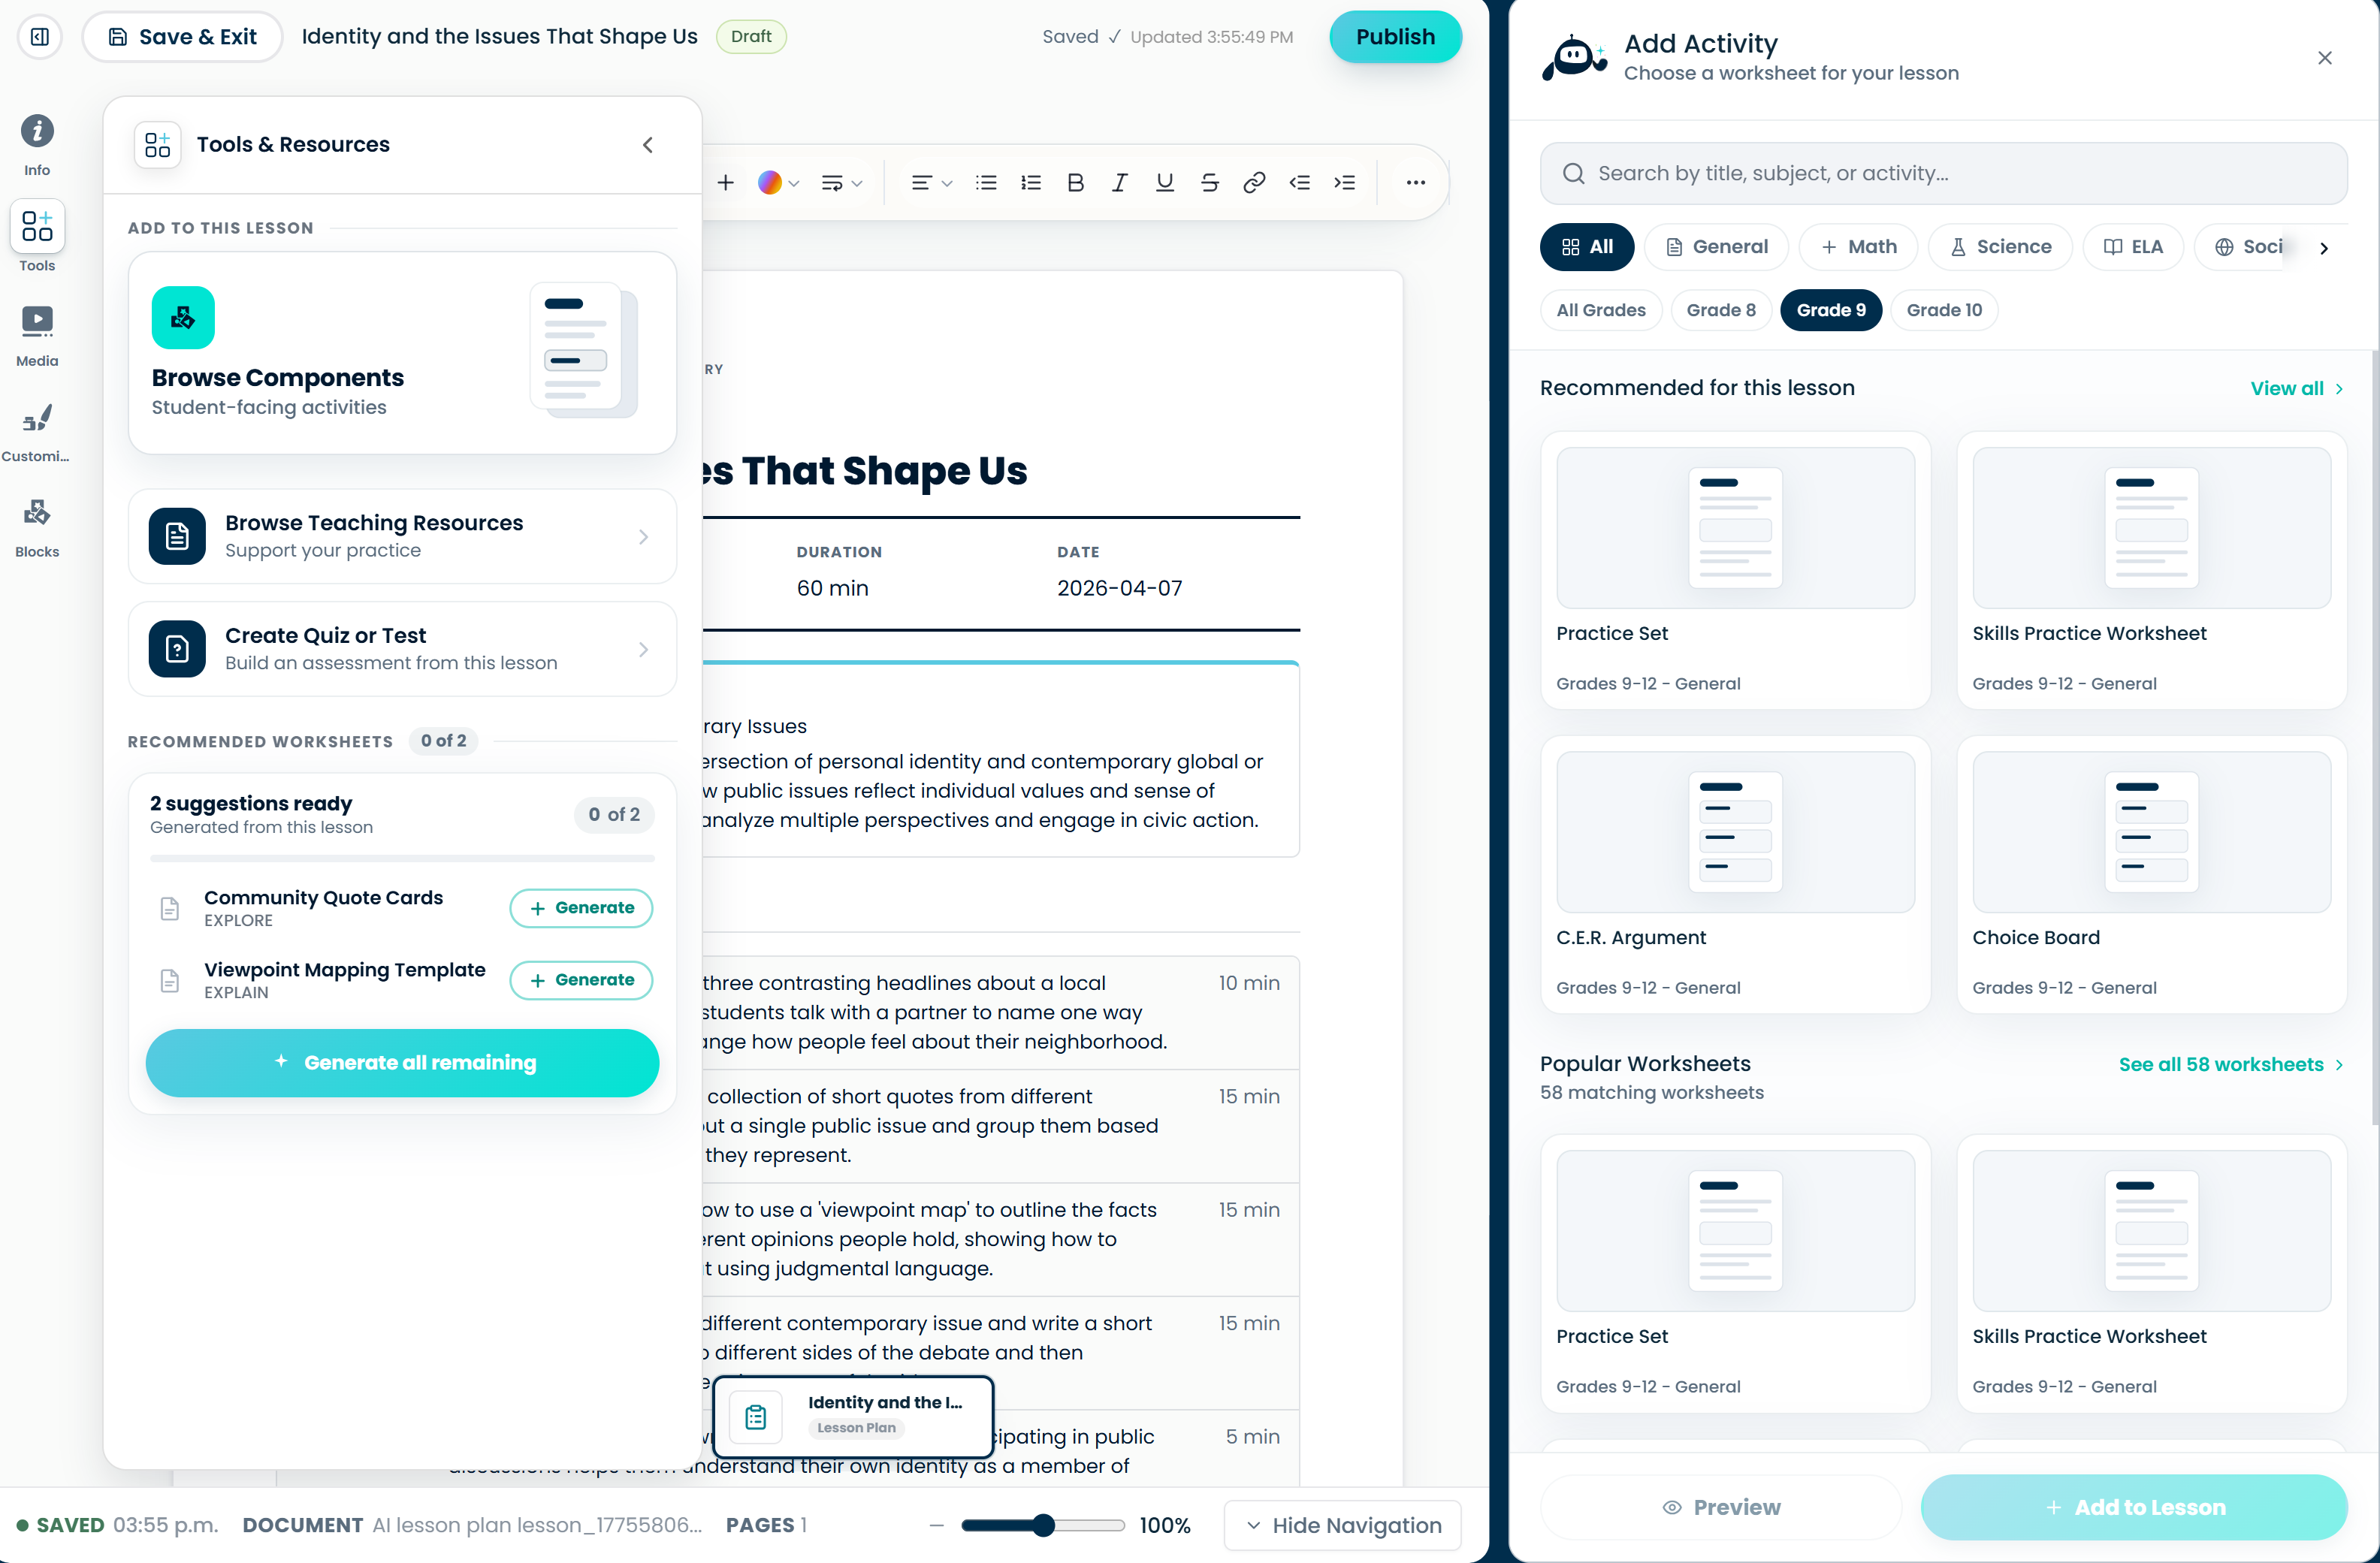
Add the extras
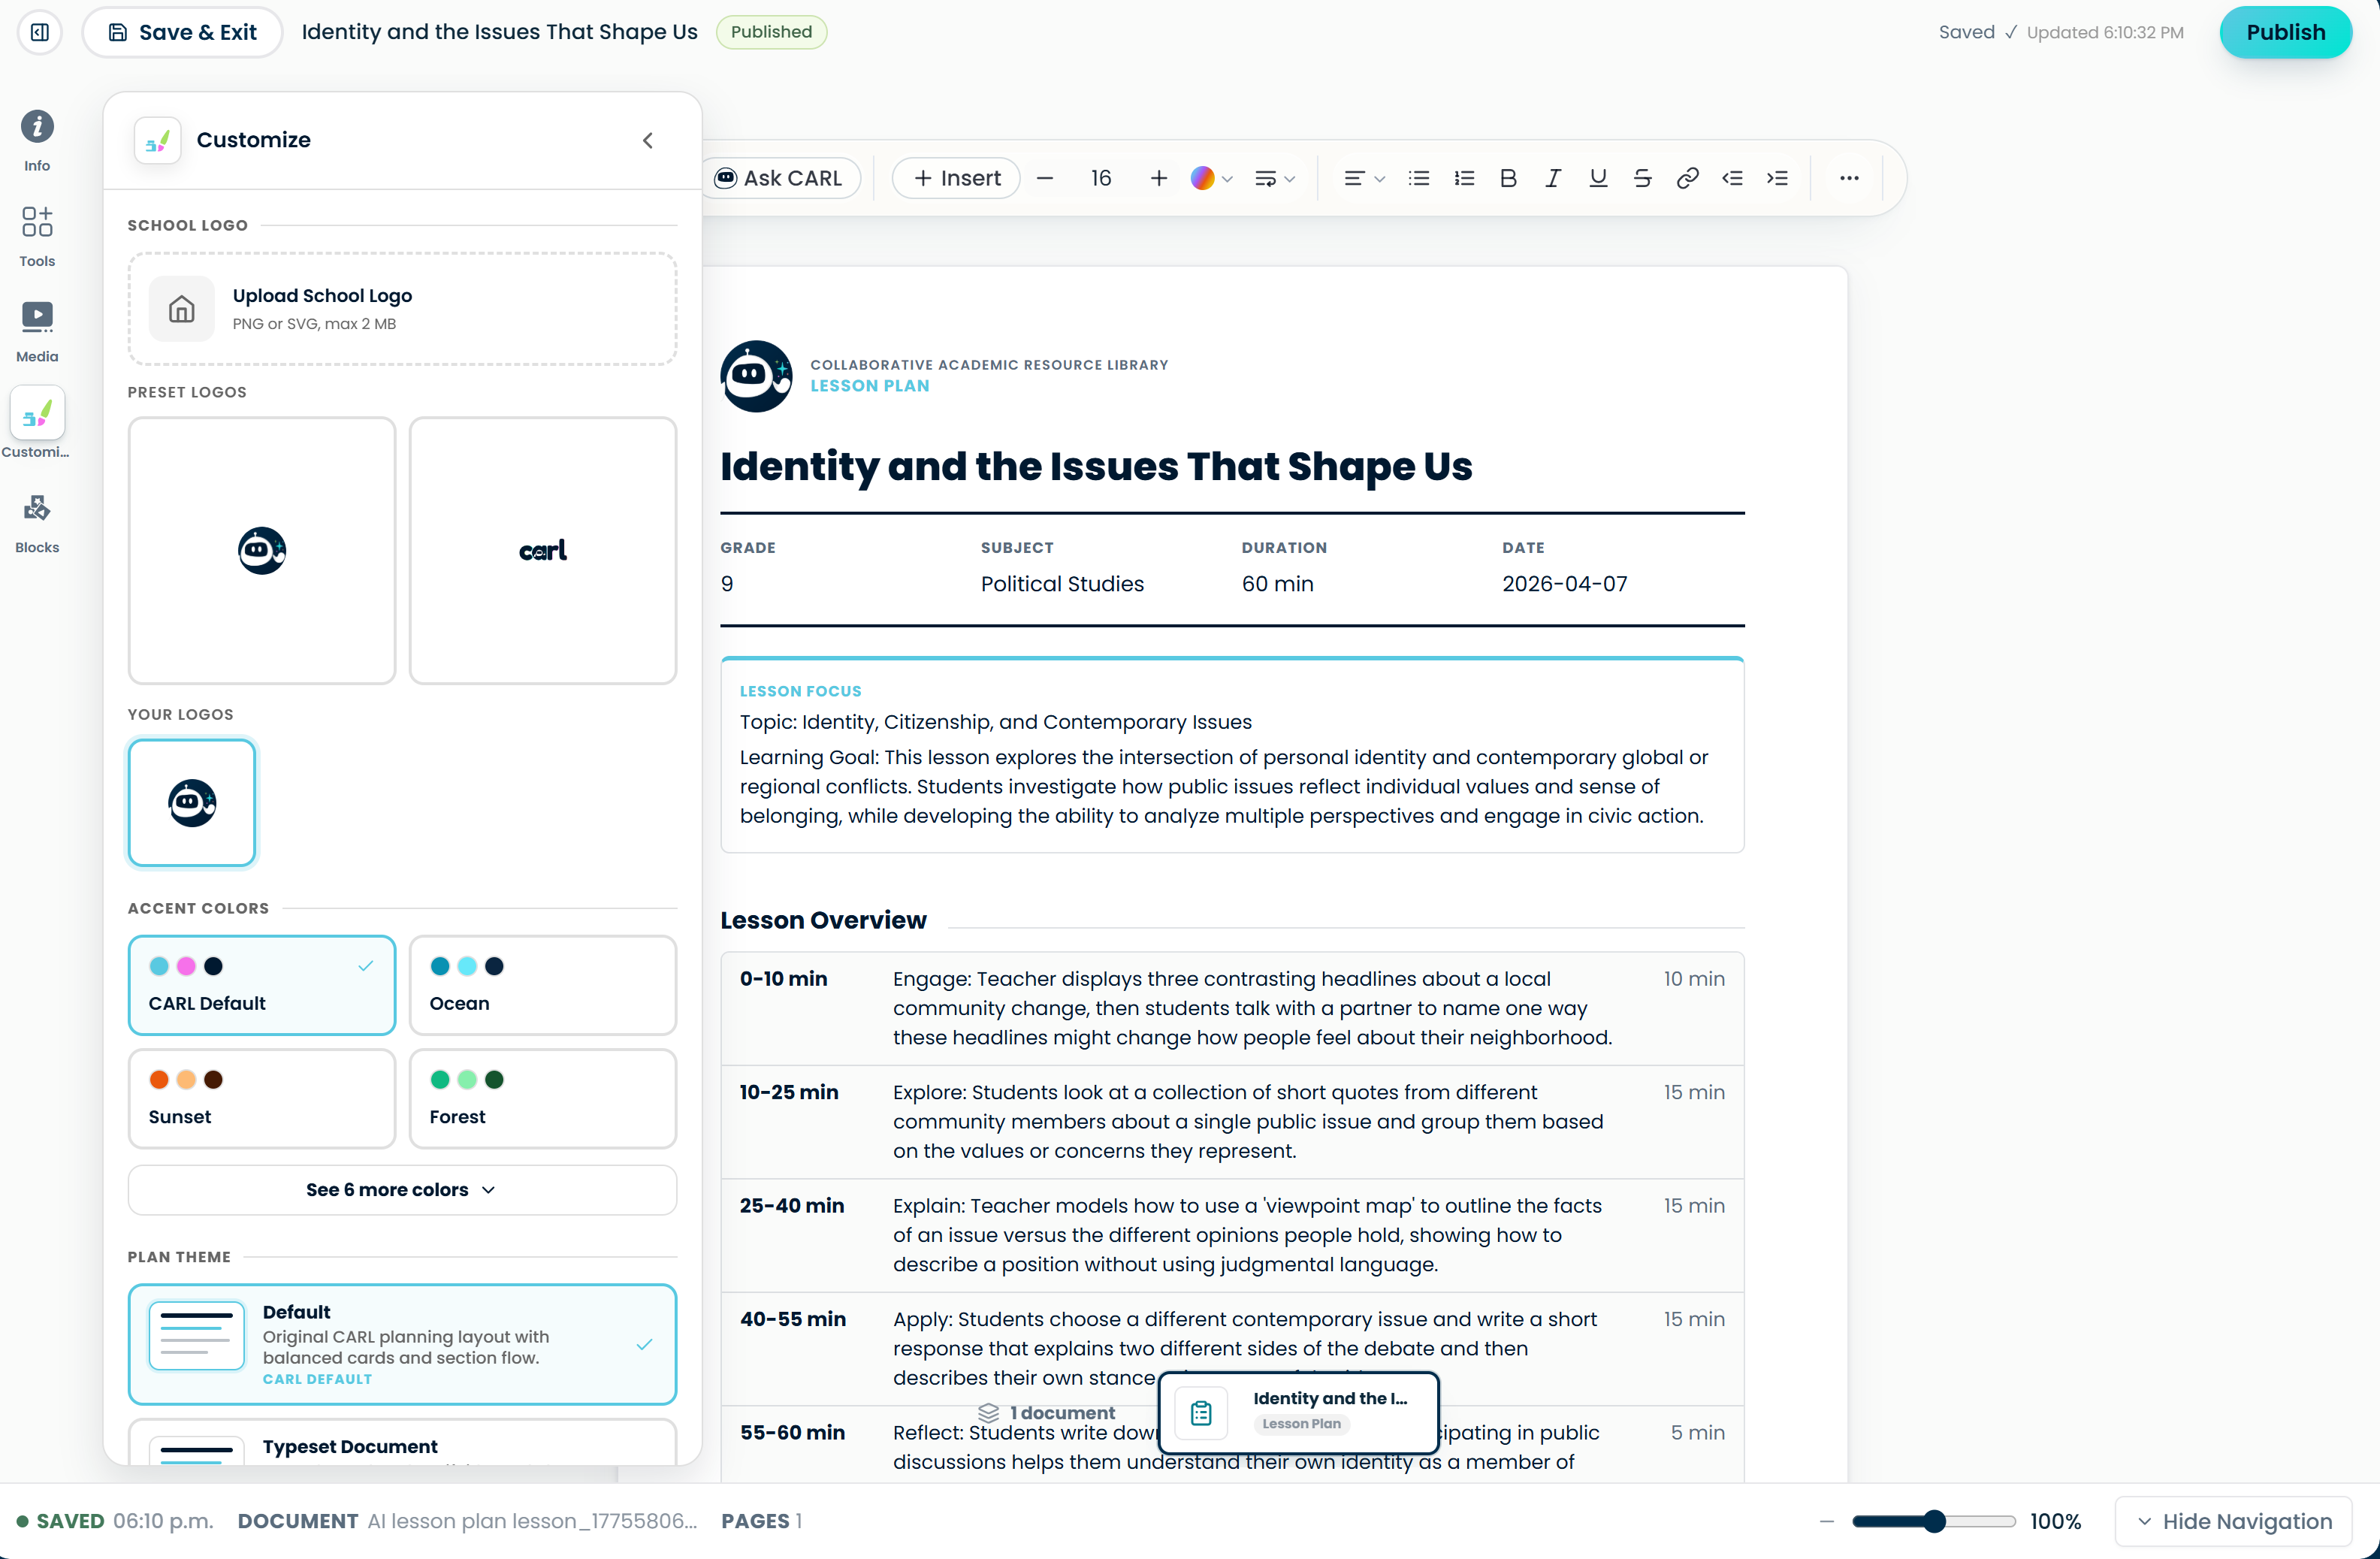
Make it yours
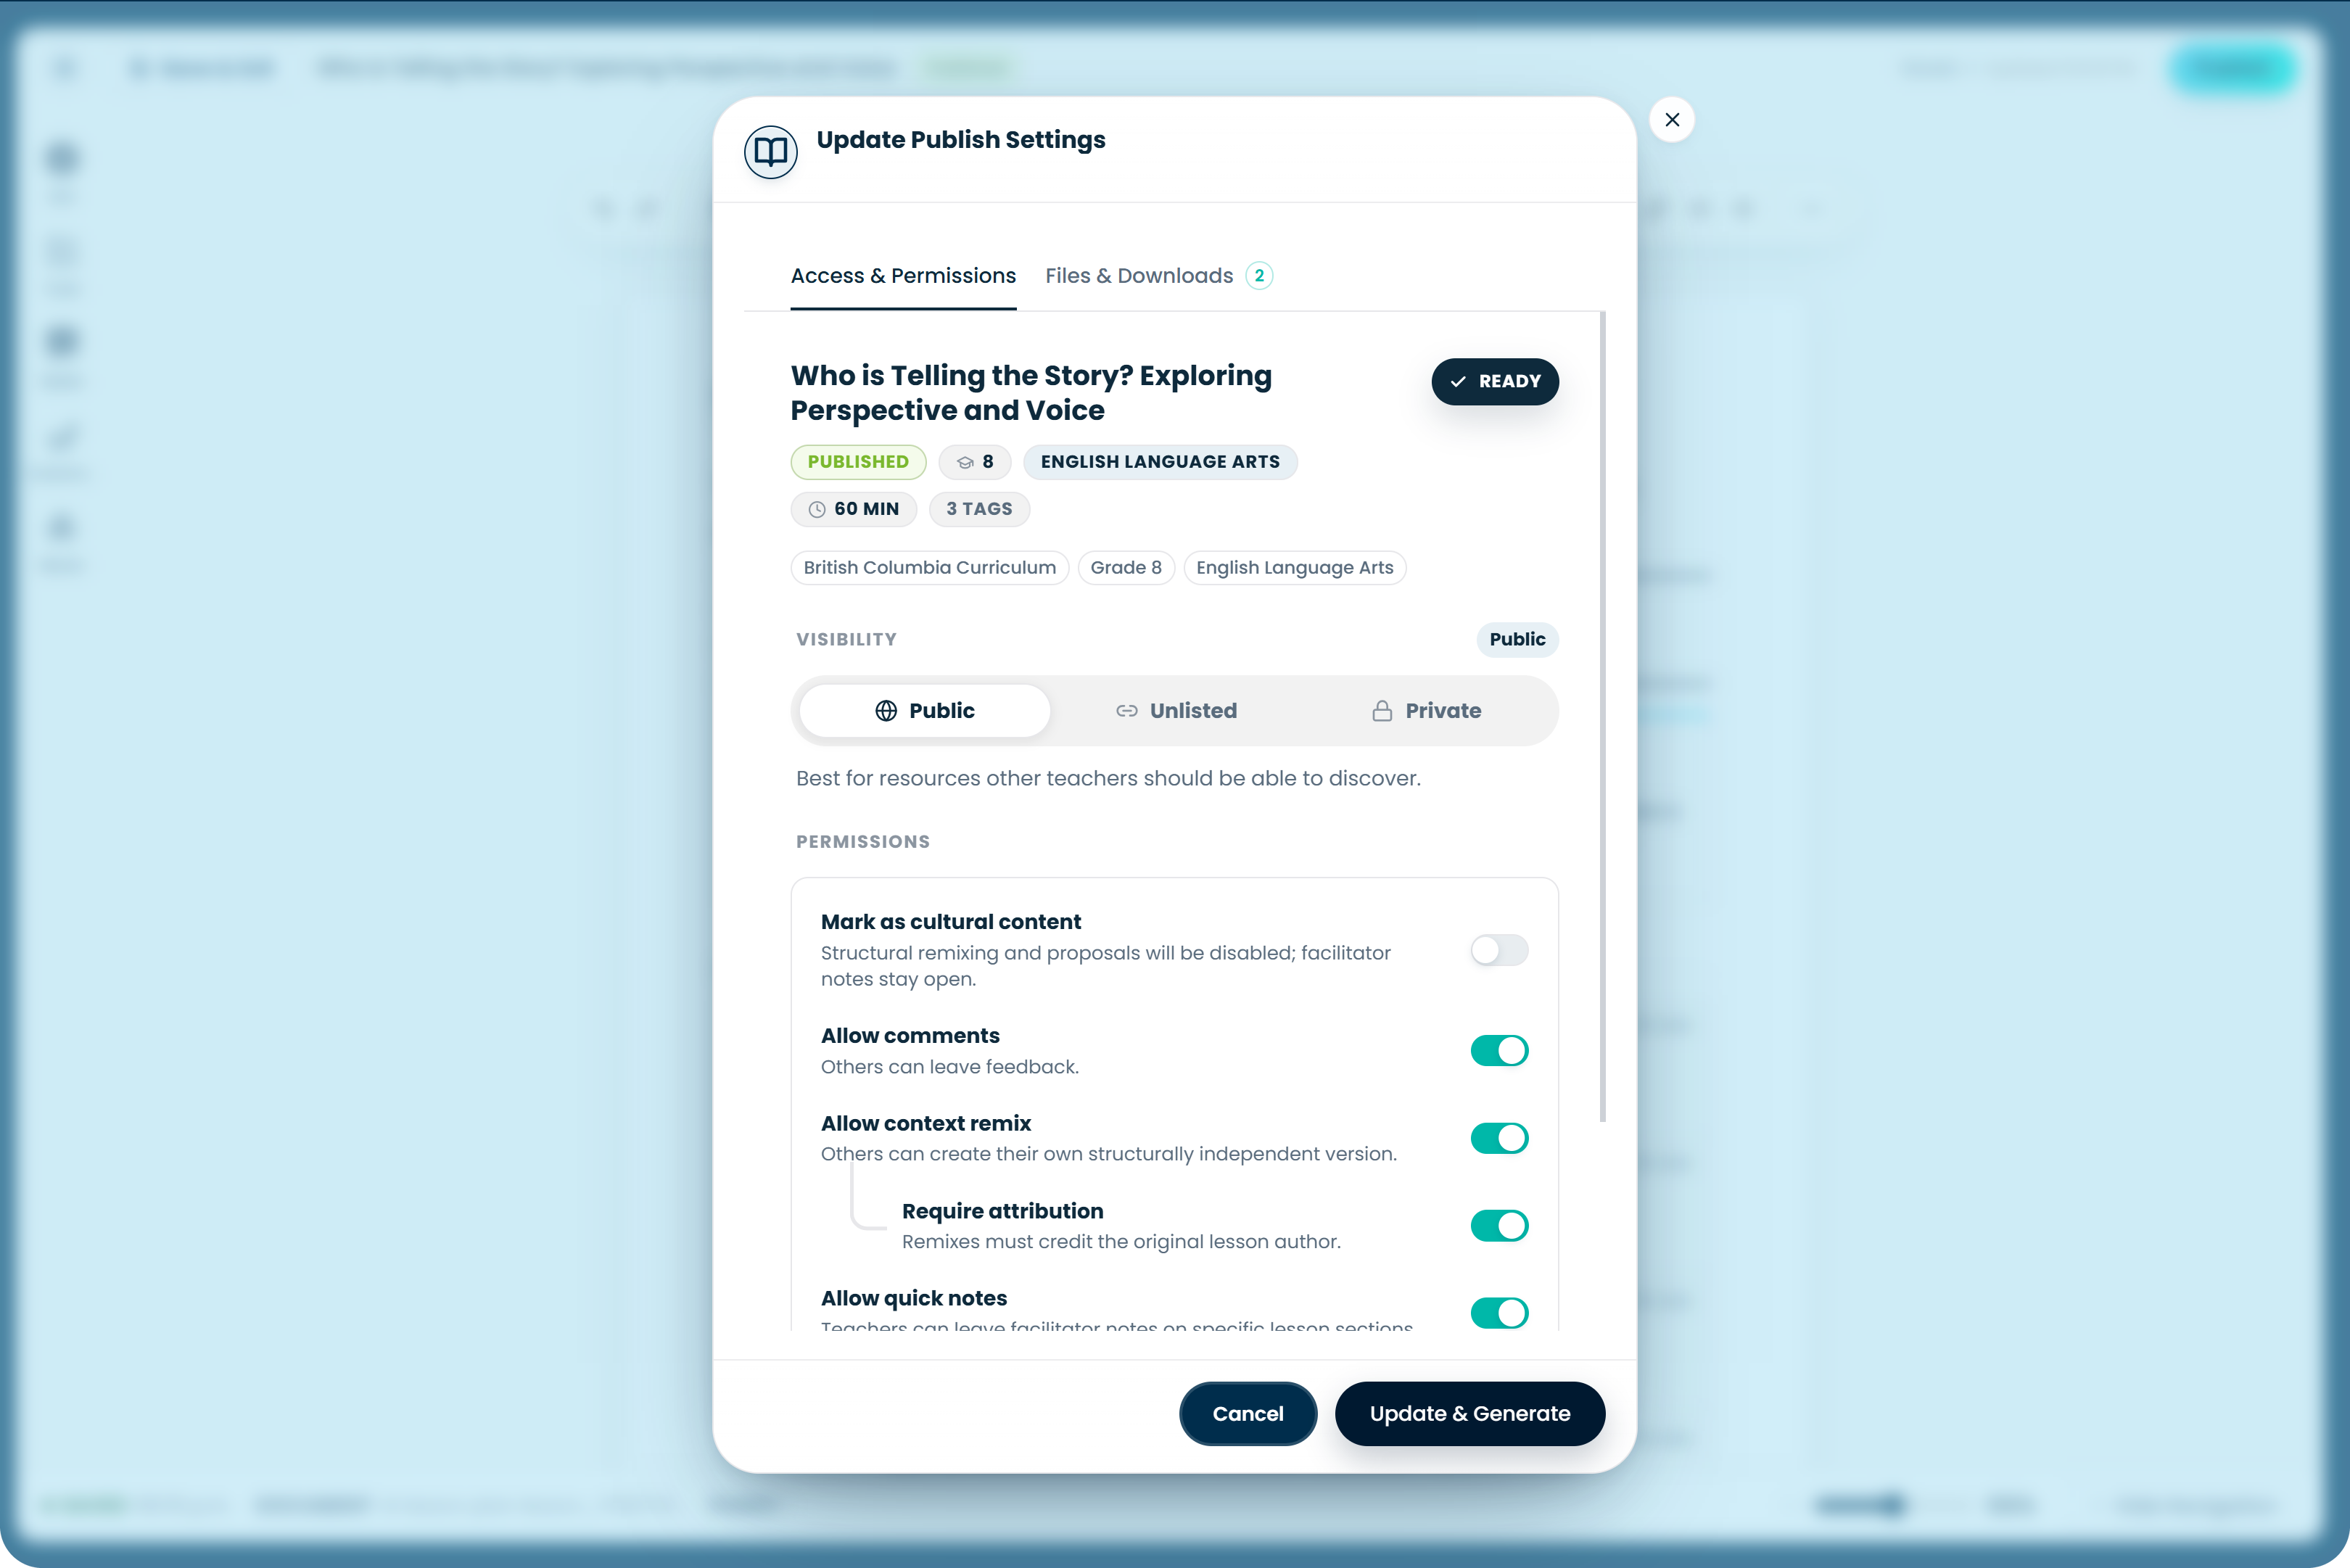
Publish, download & share
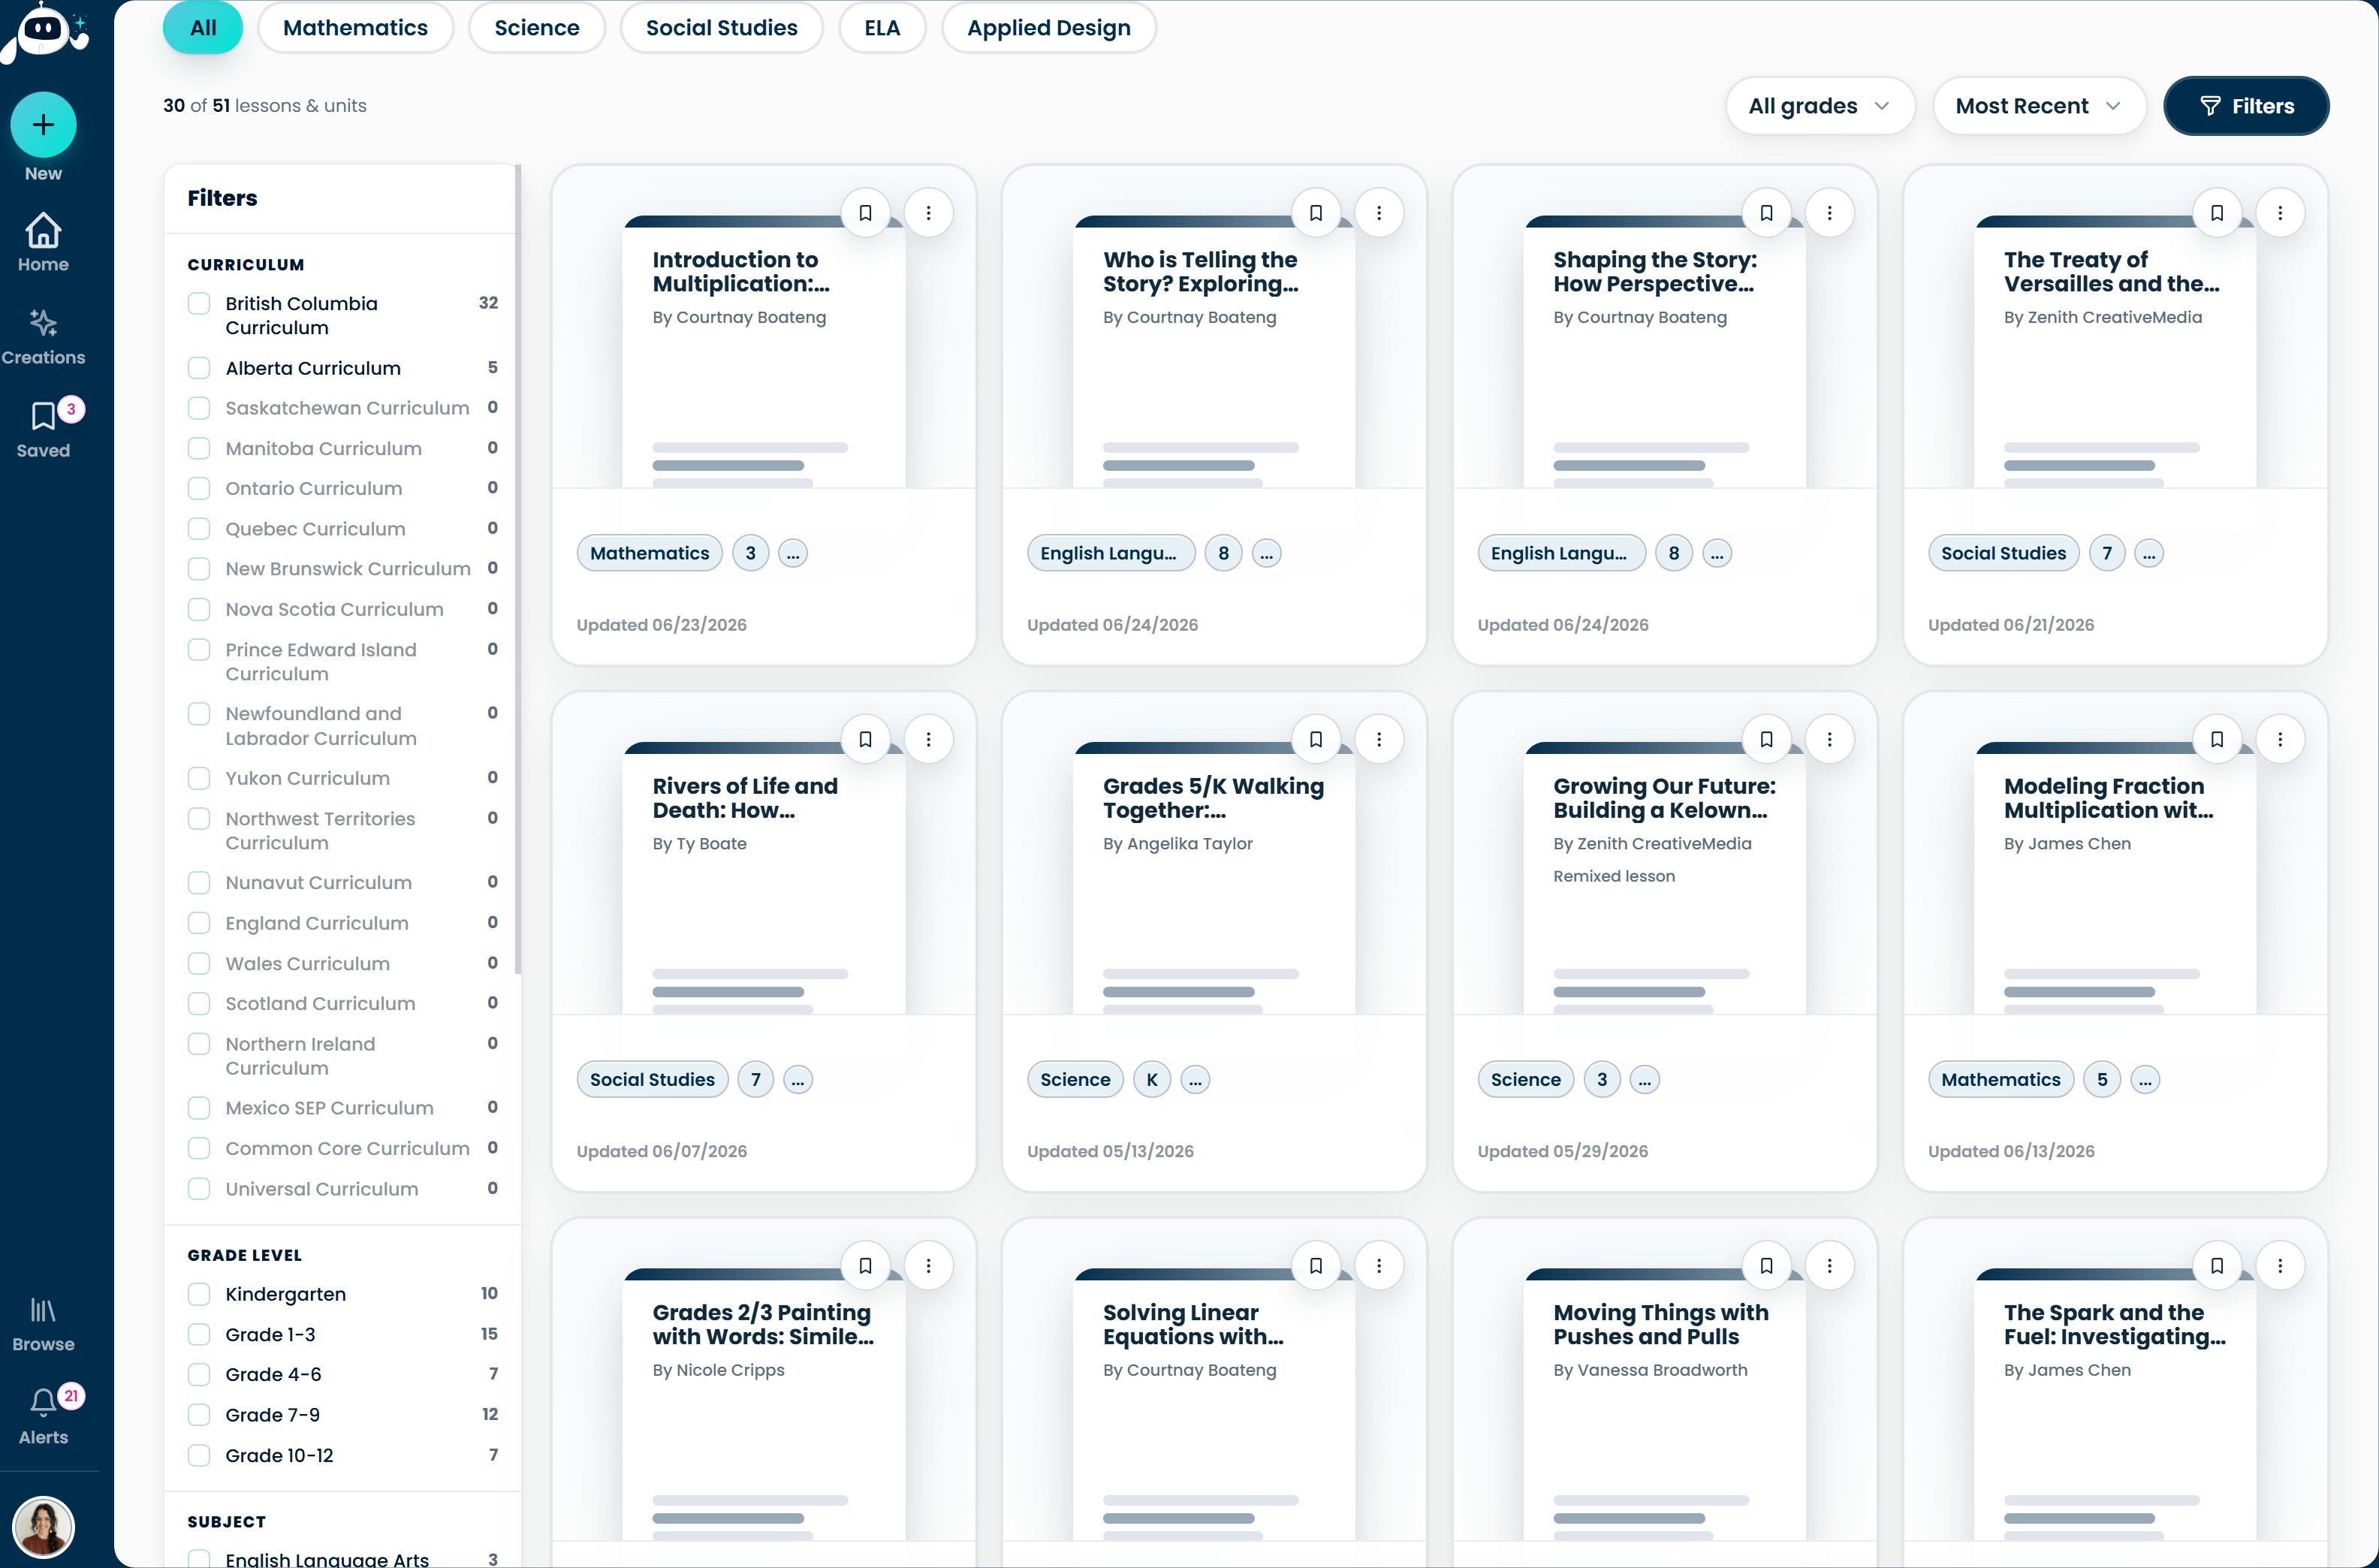
Build a library
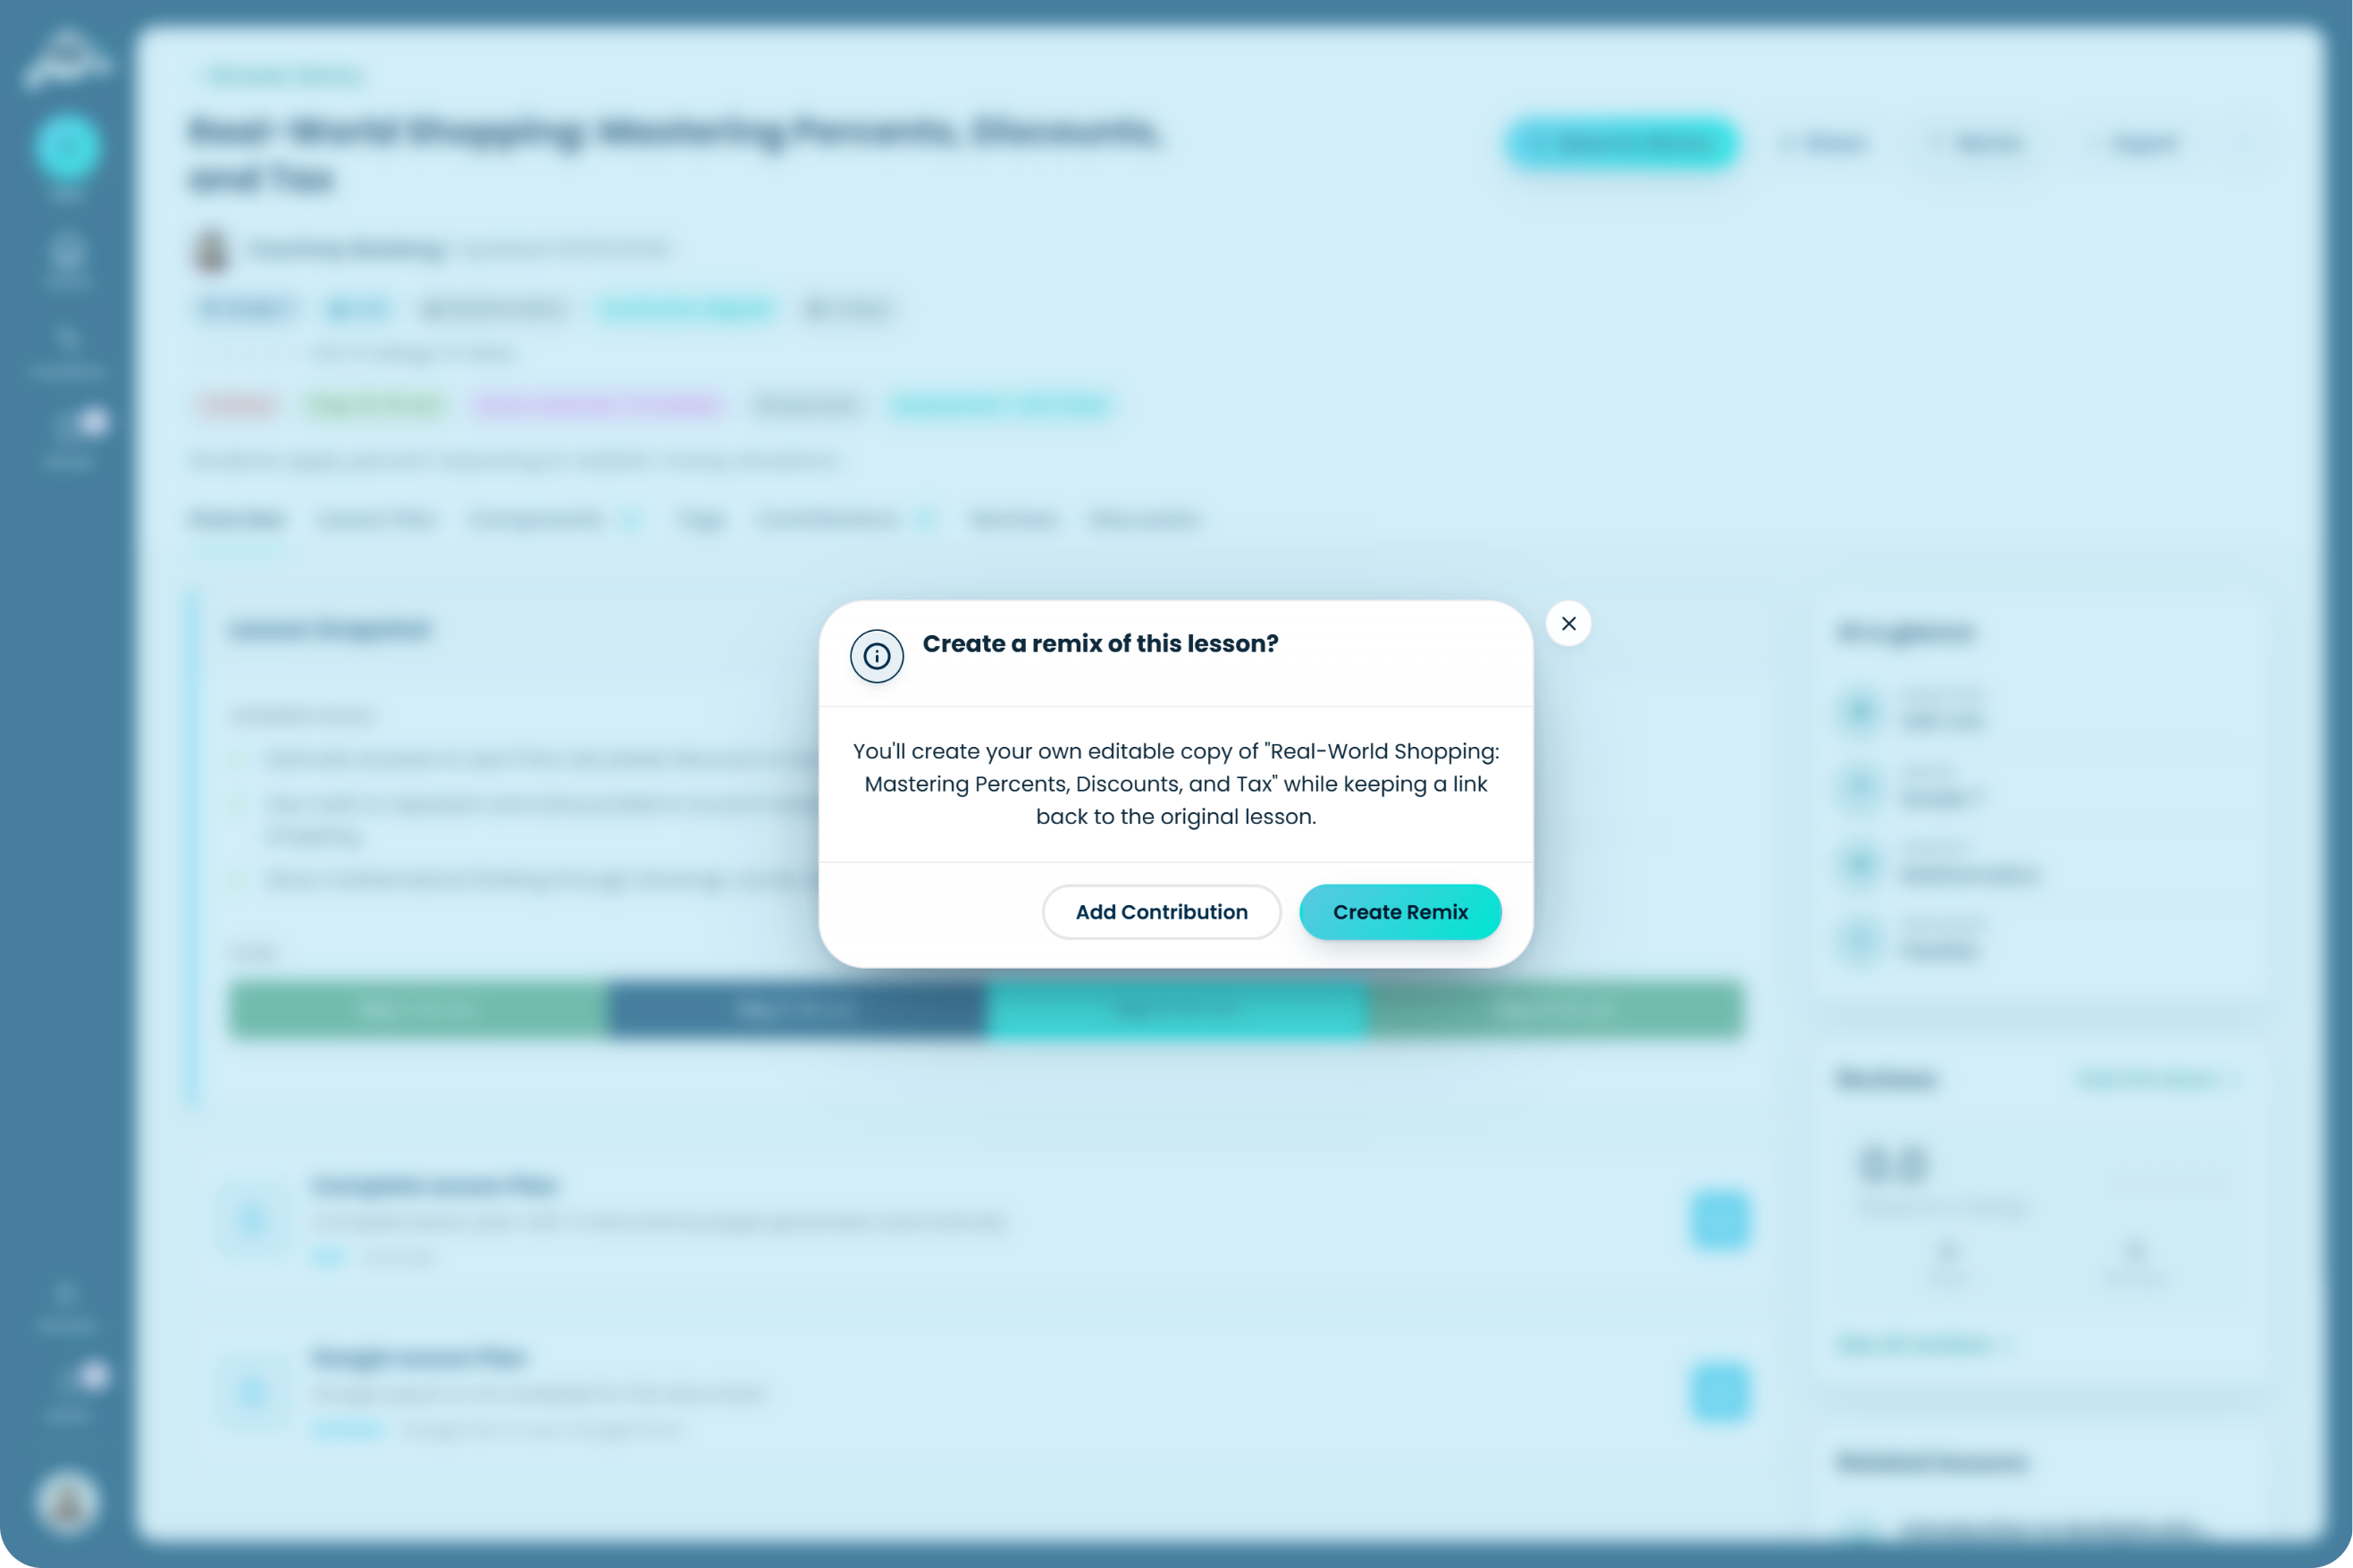
Remix & collaborate
Track with Compass