Learn how to edit lesson content, work with locked templates, unlock sections when needed, move or adjust section structure, and restore a section back to the template default if the layout gets messy.
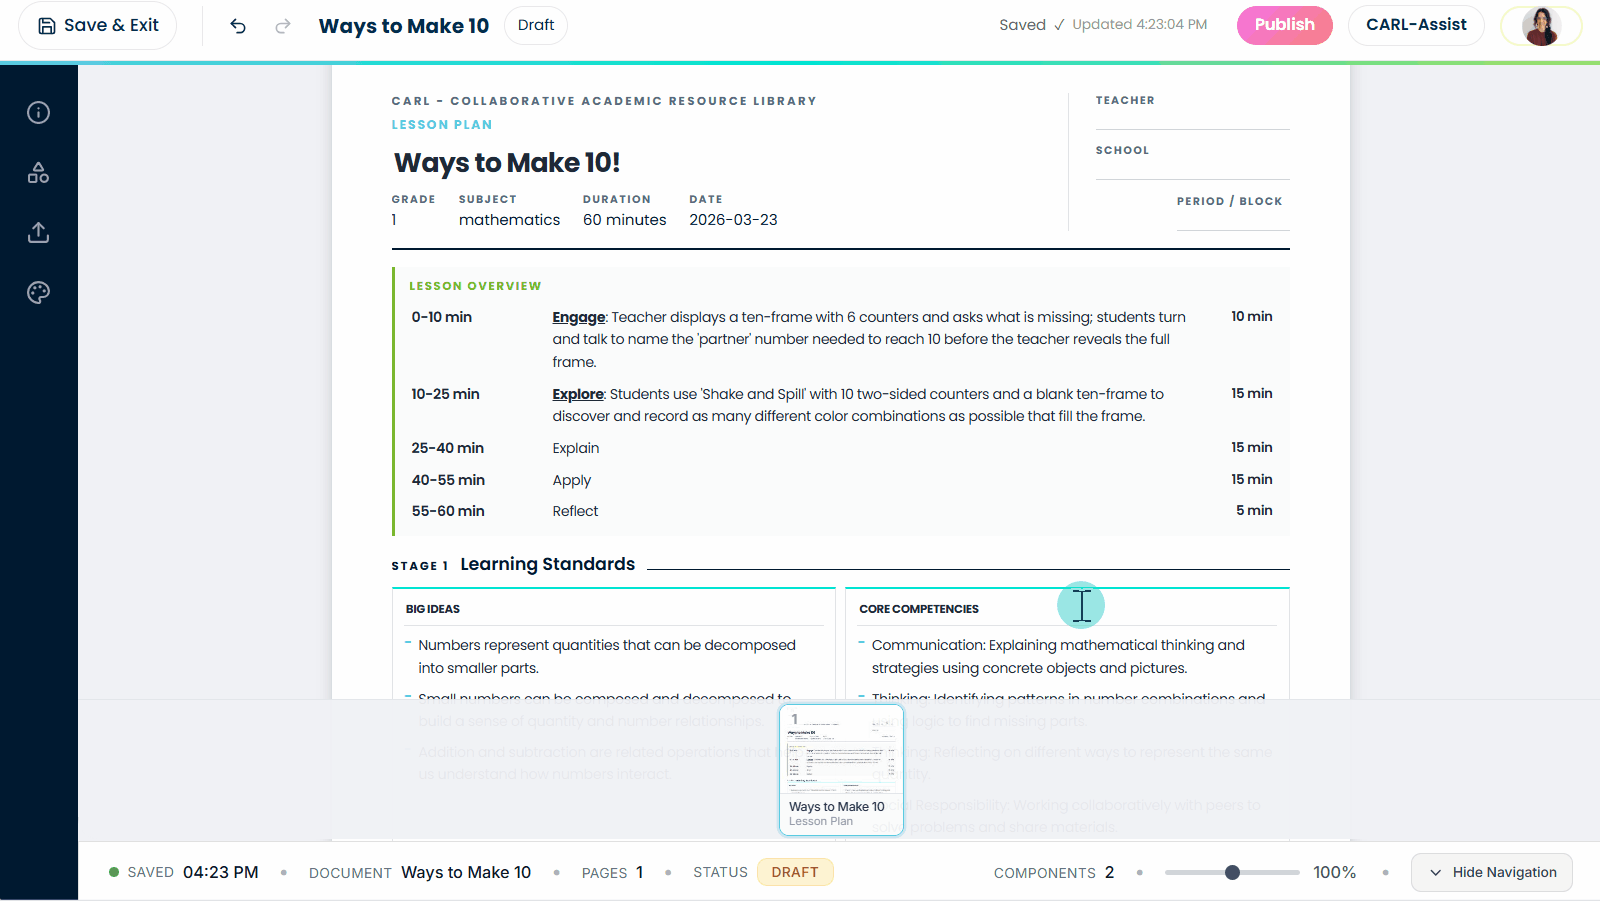
The CARL editor is where you review, revise, organize, and prepare your lesson after it has been generated. You can make simple text edits directly, then use more advanced controls when you need to change layout or structure.
For most edits, start small: update text first, then adjust section structure only when the template needs more space or a different layout.
| Area | What it is for | Best first action |
|---|---|---|
| Main editing area | The lesson canvas where your pages, sections, text, and content blocks appear. | Read through the generated lesson and make simple text edits first. |
| Editor toolbar | The formatting tools that appear when you select or edit text. | Use it for bold, italic, headings, lists, links, colour, and math formatting. |
| Section controls | Controls for moving, unlocking, restructuring, or restoring sections. | Use only when you need to adjust the layout, not just the wording. |
| Restore template layout | A reset option for sections that get messy after layout changes. | Use it when a section is misaligned, cramped, or hard to fix manually. |
CARL lesson templates are locked by default to protect the structure of the page. This helps prevent accidental dragging, resizing, or layout changes while you are focused on editing the lesson content.
Locked does not mean uneditable. In most cases, you can still click into text areas, revise wording, update examples, and adjust lesson content without unlocking the section.
| Locked section | What you can usually still do | What unlock is for |
|---|---|---|
| Text content | Edit wording, rewrite instructions, adjust goals, revise examples, and update teacher notes. | Not usually needed. |
| Lists | Edit list text, add lines where supported, remove lines where supported, and change wording. | Only needed if you are changing the section structure. |
| Layout structure | Protected from accidental movement or major layout changes. | Needed when moving, resizing, or restructuring a section. |
When you need to move a section, resize it, or change the structure, right-click the section or block and choose Unlock. Once a section is unlocked, more layout controls become available.
| Use unlock when... | Do not bother unlocking when... |
|---|---|
| You need to move a section up or down. | You only need to rewrite text in a paragraph or bullet. |
| You need to resize or restructure a layout area. | You only need to bold, italicize, or change a heading. |
| You need to fix a layout that is not fitting the content. | You only need to add or remove a supported list line. |
Use the toolbar for regular text editing and formatting. Click into a text field, select the text you want to change, then choose the formatting option you need.
Select text in the editor, then use the toolbar to format it.
| Toolbar option | Use it for | Example |
|---|---|---|
| Bold, italic, underline | Adding emphasis to key words, directions, or vocabulary. | Bold the main task students need to complete. |
| Headings | Creating clear section titles or subheadings inside a text area. | Use a heading for Materials, Activity, or Reflection. |
| Bullets and numbers | Breaking instructions into readable steps or short lists. | Turn a long paragraph into a student-friendly checklist. |
| Text colour and size | Small visual adjustments when a section needs better emphasis. | Use sparingly so printed or downloaded pages stay readable. |
| Subscript and superscript | Science formulas, exponents, and notation. | CO2 or x2. |
| Math | Adding formulas and equations in supported text fields. | Use the math option for equations students need to read clearly. |
You can move sections when the lesson flow needs to change. For example, you may want a vocabulary section earlier, move a reflection closer to the end, or rearrange activity steps after reviewing the generated plan.
Because sections are part of the page layout, movement is safer after you unlock only the section you are changing.
| Move sections when... | Leave sections alone when... |
|---|---|
| The lesson sequence would make more sense in a different order. | The section order is fine and only the wording needs revision. |
| A support section needs to appear before an activity. | You are only trying to fix a typo or shorten instructions. |
| A reflection, check-in, or assessment belongs later in the lesson. | The layout is already working and the change is mostly cosmetic. |
Section structure is the layout of the page: where the text areas, columns, lists, image spaces, and content blocks sit. Change structure when the lesson needs a different layout, not when it only needs better wording.

For simple list edits, use supported add/remove line controls instead of changing the whole section layout.
| Need | Best action | Why |
|---|---|---|
| More list items | Use the supported add line option where available. | This keeps the existing section structure intact. |
| Less text | Edit or shorten the text directly. | This is usually safer than changing the layout. |
| A new image area | Add a section, choose an image-friendly layout from Blocks → Layouts, then use Media to insert the image. | Blocks create the image space, Media adds the image. |
| A new organizer or table | Add a section or select an existing slot, then add a Block. | Blocks are designed for smaller pieces inside an existing page. |
| A very different section design | Unlock the section, make the structural change, then review the layout carefully. | Structural edits can affect spacing and flow. |
If a section gets messy after moving, resizing, or changing the layout, use the reset option to restore that section back to the template default. This is usually faster than trying to manually repair every spacing or alignment issue.
Use the restore option when a section has become misaligned, cramped, or hard to fix manually.
Use this quick reference when you are not sure whether to edit text, use the toolbar, add a block, unlock a section, or reset the template layout.
| What you want to do | Best option | Why |
|---|---|---|
| Change wording | Click into the text and edit directly. | No unlock needed for normal content changes. |
| Format text | Use the editor toolbar. | This keeps the section structure intact. |
| Add an image space | Use Blocks → Layouts, then Media. | Blocks create the space, Media adds the image. |
| Add a table, organizer, or question area | Select a slot and add a Block. | Blocks are for smaller additions inside existing pages. |
| Move a section | Right-click, unlock, move carefully, then save. | Movement is structural, so unlock is usually needed. |
| Fix a messy section | Use Reset to Template Default. | It is faster and safer than manually rebuilding a broken layout. |